Thursday, September 4, 2014

Chipati

I love Indian food.  Usually the restaurants we go to serve delicious naan bread, which I do adore.  However, back several years we used to live near a restaurant that served the softest, most delicious chipati and I fell in love.  

So when I had a hankerin' I thought I'd try my hand at it.  I found the recipe here.  It looked simple enough, and it said you could use oil or melted butter instead of ghee (I've never tried to make ghee and it seemed a lot of extra trouble).  

First  you mix the flour, water, and salt (I added a bit of melted butter at this stage), and it makes a pliable dough.  Then you rest the dough for 30 min.  

Next, cut the dough into 12 pieces, and roll them into little balls. 

The you roll them flat and brush them with butter, fold and brush again, fold again so you have a little origami dough triangle. 
Then heat the griddle, and roll the chipatis as flat and thin as you can.  Once one is rolled out, flap it onto the griddle and brush the top with butter.  Flip it onto the buttered side and brush the other side with butter.  Once the first side starts to bubble, flip it over and it will immediately start to puff up with air.  Neat! 

When it's done set it aside and do the rest of the chipatis.  They will deflate as they cool, but will be soft and chewy and good.  Serve them warm and use torn pieces of chipati to scoop up and eat saucy dishes, like Butter Chicken.  So yum!

Low-carb buns

Soon I am planning to do some strengthening work on my body.  Weightlifting, bodyweight resistance, with some running for cardio.  My nutrition guru has said that while I work on muscle building, I must carefully construct a meal plan that is a) mostly watery vegetables, b) is high in lean proteins, c) includes "good" fats, and d) is very low in carbs.  This means no pasta, rice, sugar, alcohol, or *sniff* bread!  

The bad news is that bread is something I will really miss.  In fact, I might still make bread and have a moderate (1 slice) amount to taste and make myself feel like I'm not being deprived.  

The good news is that I found this recipe for carb-free-sort-of-bread.  I call it Low-Carb Buns.  I can't remember where I found it so no tutorial link, but I will post the recipe.  There are two versions of this recipe, depending on what type of flour you choose to use.  Almond flour is my favourite because it uses a reasonable amount of other ingredients.  The coconut is good too, but it uses so many egg whites that either a lot of yolks would go to waste, or you'd have to buy that whites-only liquid egg in the carton.  
So here goes: 

Low-Carb Buns (Almond version)
1 1/4 cup almond flour
5 tbsp psyllium husk powder
2 tsp baking powder
1 tsp salt
3 egg whites
1 cup boiling water

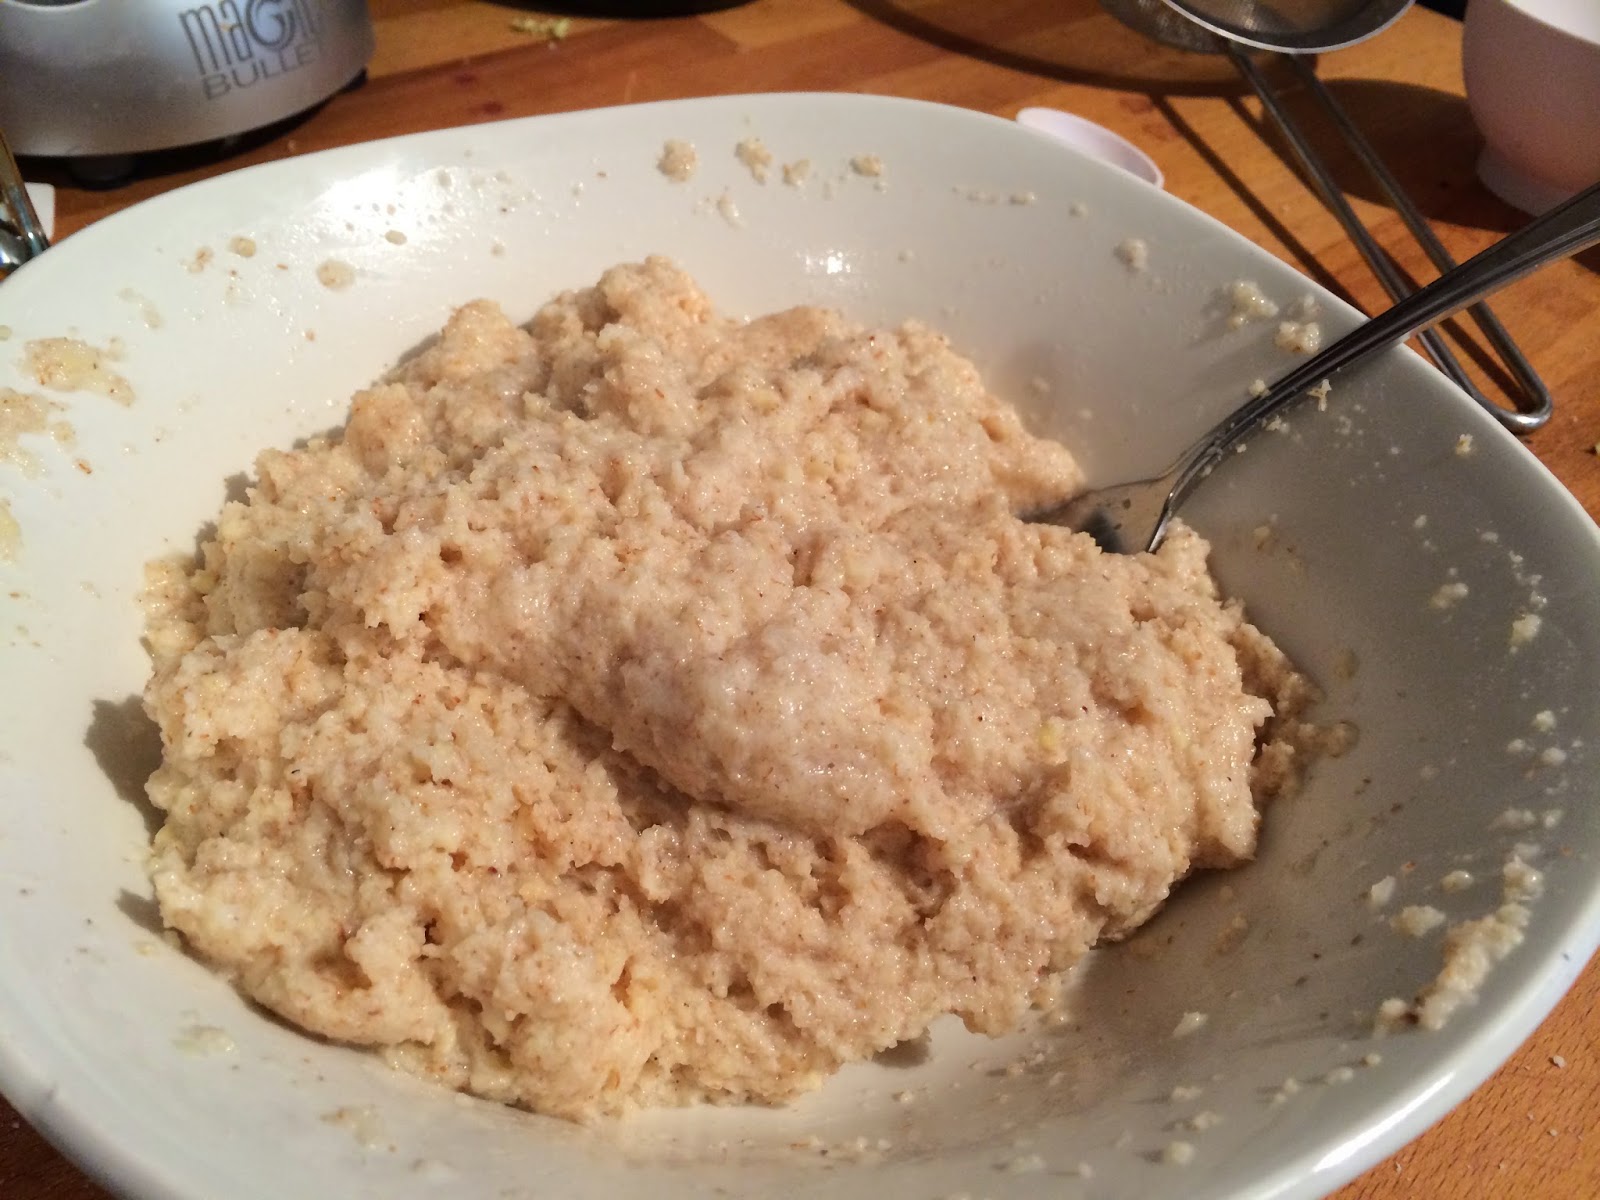
Mix the dry ingredients, and then beat in the egg whites.  It will be thick and pasty.  Then boil the water and measure 1 cup.  Pour the water over the mixture, stirring as you go.  It will look like this:


You may think it's too runny, but after a minute or so it congeals to a kind of gelatin consistency.  Once it's firm enough to make a ball with it, you can form balls and place them on a cookie sheet.  Make sure you line the sheet or they will stick. 
Flatten the balls so they are sort of pucks.  Bake at 350 for 25 minutes, and then flip them all and bake another 25 minutes. 
They will come out crusty on the outside and kind of spongy in the middle.  The eggs make them tender, so they are perfect for toasting or tiny sandwiches.  I use them in place of sliced bread for almost everything. 
These buns are very moist, and must be kept in the fridge and eaten within a week or less.  I haven't tried freezing them, but that is an experiment worth doing! 

Here is the Low-Carb Buns (coconut version) - same method.
1/2 cup coconut flour
5 tbsp psyllium husk powder
2 tsp baking powder
1 tsp salt
8 egg whites
1 cup boiling water

bake at 350 for 50 min, flipping halfway. 

Tuesday, August 26, 2014

Soft Pretzels

It was time to try something new, and since I was stuck being homebound all day while the workmen were putting our basement into (sort of) order, I thought I'd bake.  Madison helped me decide to try the soft pretzels.  I had tried a different version some years ago with whole wheat flour and a soda dip.  This one was much simpler, and the family agreed it was tasty.  Butter and salt may have had something to do with it. 

I found the recipe here.  This blogger wanted them to be vegan, but I used real butter.  I suppose I could switch to margerine if I was making these for a vegan, but since I very seldom cook for vegans, real butter is the way to go. 


I shaped them into sort of pretzel shapes.  Yes, I am aware they look like turds in the photo.  I should have twisted them more, dough sprang back after I shaped them.  Oh well, they were still delicious. 

Fluffy and chewy, and I sprinkled on lots of salt. 


Saturday, August 23, 2014

Scones

I make scones from time to time, and my family always devours them.  On the occasions that I have made these for company or others, they have always been met with praise.  These are one of my go-to crowd pleasers.

I got the recipe from my favourite cookbook
It has a basic recipe for the plain scones, which is quite delicious on its own.  Then additions can be made to make them sweet or savoury.  Mark Bittman says that scones are ultra rich biscuits made with cream - you could make them with milk, but there what would be the point in that?

Here is how to make them:
Cream Scones

2 cups flour
1 tsp salt
4 tsp baking powder
1 tsp sugar (if you are making these into sweet scones, use 2 tbsp sugar)
5 tbsp butter
2 eggs (plus one for egg wash)
3/4 cups heavy cream.  I use whipping cream

Combine dry ingredients, cut in the butter.
Beat the eggs into the cream and add to dry mixture.
Knead 10 times.  Pat flat and cut into shape, or use a round cutter or drinking glass to cut into 10-14 rounds.
Brush the tops with one egg mixed with 1 tbsp water (optional.  I never do this)
.

Bake at 450 for 7-9 minutes.  Test the inside by poking with a skewer or toothpick and make sure it comes out clean. 

Variations: 
Savoury - you could add just about anything savoury into this batter before baking.  I have tried herbs and bacon, but our absolute favourite is sharp cheddar cheese.  I add about 1 cup of grated cheese to the eggs and cream as I beat them together.  These cheesy biscuits are perfect to go along with soup.

Sweet - you could add just about anything sweet into the batter too.  Fruit, raisins, nuts, spices, whatever.  Recently I made these into a dessert by adding a half cup of coconut and a tsp of coconut extract (along with a little extra sugar).  Then I served them with sweetened creme fraiche and homemade saskatoon syrup.

Also I have made miniature scones with lemon and poppy seeds that my son thinks are "Hobbit seed cakes". 

#100happydays 91-104

Thursday, July 31
Caylie chose to visit the kangaroo farm for her birthday treat.  Everyone loved it so much!  We got to hold baby joeys and they were adorable!


Friday, August 1
Kai drew me this picture and presented it as a gift.

Saturday, Aug 2
Made super delish dessert with saskatoon berry syrup and creme fraish.

Sunday, Aug 3
Ran with some buddies and had a great time.

Monday, Aug 4
Went out for ice cream with the kiddos.

Tuesday, Aug 5
Fun on the ferry to Vancouver Island.

Wednesday, Aug 6
Reunited with the cousins!  Kai had a blast with his little cuz, Rhys

Thursday, Aug 7
More fun with cousins.  Bumber boat battle and mini golf.

Friday, Aug 8
Let the record show that I insisted on taking a family photo this evening and it turned out nice.

Saturday, Aug 9
Little family hike to the beach

Sunday, Aug 10
Tried a pinterest hairstyle on Caylie and she loved it.

Monday, Aug 11
Madison has been so scowly lately.  Probably it's being 12 that gets her down.  So it's always a minor victory when I catch her having fun and smiling.  Love her!

Tuesday, Aug 13
Kai made a sword out of sand and was proud of himself.

Thursday, Aug 14
Happy Anniversary, Kent!  15 happy years together and we still have lots to look forward to!  I love when I get to see him being happy and silly. 


Thursday, July 31, 2014

Gluten Free Bread

I am not a big fan of the gluten free fad.  But I am a big fan of presenting my guests, family, and friends with food that they will enjoy and will not make them sick.  So when I give gifts of baking or bread, and when I have dinner guests, I make sure it is something they are comfortable eating. 

My mother is allergic to wheat, so I often bake with spelt or coconut flour.  I also have a friend with celiac, so I wanted to try a yeast bread that would be totally gluten free (spelt still has gluten).

It took a lot of digging to find this recipe, but I found one that didn't look like it was a two-by-four of a loaf.  It looked bubbly and fluffy.  And the blog about it sounded like it was great too. 

The blog is obviously trying to sell a particular brand of flours, but I bought mine at Bulk Barn (I love Bulk Barn), and began with the "bread mix".  This recipe calls for a certain ratio of flours, along with xanthun gum (to replace the gluten). 
My mother was coming over for dinner on Friday, so I baked this on Thursday and had a taste.  Hot from the oven, it was actually really good!  It was buttery and flavourful, and pretty soft. 

The next day, when we served it for appies with cheese and spreads, it had firmed up quite a lot.  In fact, without the spreads it was downright dry and hard.  Sigh. 
But then I tried toasting it.  And that improved it greatly.  It's got a nice flavour still, and the toasting softens the middle while adding a nice crunch and toasty-ness. 
So my verdict is that it's not as good as regular bread.  But that will always be the case because gluten is delicious.  But if you have to eat gluten free bread, this may be the best one I've tried.  It was really good hot from the oven, but after it cooled and stiffened it is still good as toast. 

#100 Happy Days 83-90

Tuesday, July22
I took a picture of Caylie eating a dinner she helped make for herself.  But then I accidentally deleted it.  Sorry!


Wednesday, July 23
I didn't take a picture today.  I was having too much fun dealing with summertime stuff. 


Thursday, July 24
I got up early and Bilbo came to give me a snuggle so I took a selfie with him (see above).  After I clicked the picture, I left the camera on and he reached out his paw and touched the button and took another picture of us (see below)!


Friday, July 25
Caylie's birthday!  We took her on a bike ride /run and she got to use the hydration pack.  She loooooved it. 


Saturday, July26
Madison went to the babysitter course and learned how to diaper and swaddle a baby.  So everyone in our house has been swaddled, including Bilbo!


Sunday, July 27
Hash!  It turned out beautifully and was ever so much fun.


Monday, July 28
Took the kiddos to a playground and caught them playing nicely together.  Madison pushed Caylie on the swings.


Tuesday, July 29
Caylie got her blue belt and I took her out for a treat to celebrate.


Wednesday, July 30
We were invited to go over and say our goodbyes to our neighbours who are moving tomorrow.  They presented Kai with this model ship, which he has admired since we've known them.  He was super pleased!